

If you’re looking for a versatile and easy-to-use tool to create captivating presentations, Google Slides is the answer. Part of the Google Workspace suite, Google Slides offers a wide range of features that make it a popular choice for students, professionals, and educators. In this beginner’s guide, we’ll walk you through the basics of Google Slides, from sign-in to advanced features and collaboration options.
What is Google Slides?
Google Slides is an online presentation software offered by Google. It allows users to create, edit, and deliver presentations in a cloud-based environment. The platform is accessible from any device with an internet connection, making it convenient for users who need to work on presentations on the go.

How to Sign-in to Google Slides?
Signing up for Google Slides using a Gmail account is a simple process. If you already have a Gmail or Google Workspace account, you can directly access Google Slides using your existing credentials. Here’s a step-by-step guide:
- Open Your Web Browser: Launch your preferred web browser (Chrome, Firefox, Safari, etc.).
- Go to Google Slides: In the browser’s address bar, type in “slides.google.com” and press “Enter” or “Return.”
- Sign In with Gmail:
- On the Google Slides homepage, you’ll see a sign-in page. If you’re not already signed in to your Gmail or Google Workspace account, you’ll be prompted to do so.
- Click on the “Sign In” button.
- Enter Your Gmail Credentials:
- In the next window, enter your Gmail (or Workspace) email address and click “Next.”
- Enter your Gmail account password and click “Next” again.
- Access Google Slides:
- After successfully entering your Gmail credentials, you’ll be redirected to the Google Slides platform.
- You are now signed in and can start creating, editing, and managing your presentations.
If you don’t have a Gmail account, you’ll need to create one to access Google Slides. Here’s how to do that:
- Visit the Gmail Sign-Up Page:
- Open your web browser and go to the Gmail sign-up page: “accounts.google.com/signup.”
- Fill Out the Form:
- Complete the required information in the sign-up form, including your first and last name, desired email address (which will also be your Gmail address), and password.
- Google may suggest available email addresses if your desired address is already taken.
- Verify Your Phone Number:
- Google will ask you to verify your identity by entering a phone number. This helps secure your account and recover it if you forget your password.
- Agree to Terms and Privacy Policy:
- Read through Google’s Terms of Service and Privacy Policy. If you agree, click “Next.”
- Add a Recovery Email (Optional):
- You have the option to provide a recovery email address. This can be helpful if you ever need to recover your account.
- Personalize Your Account:
- You’ll be asked to add a profile picture (optional) and customize your account settings.
- Access Google Slides:
- After creating your Gmail account, you can follow the steps mentioned earlier to sign in to Google Slides using your newly created Gmail credentials.
That’s it! You’ve successfully signed up for Google Slides using a Gmail account. Now you can start creating, collaborating, and presenting with ease.
Are Google Slides Free?
Yes, Google Slides is a free tool available to anyone with a Google account. You don’t need to pay any additional fees to use the basic features of Google Slides.
Main Parts of Google Slides Interface
The Google Slides interface is designed to be intuitive and user-friendly, making it easy for users to create and edit presentations. The main parts of the Google Slides interface include:
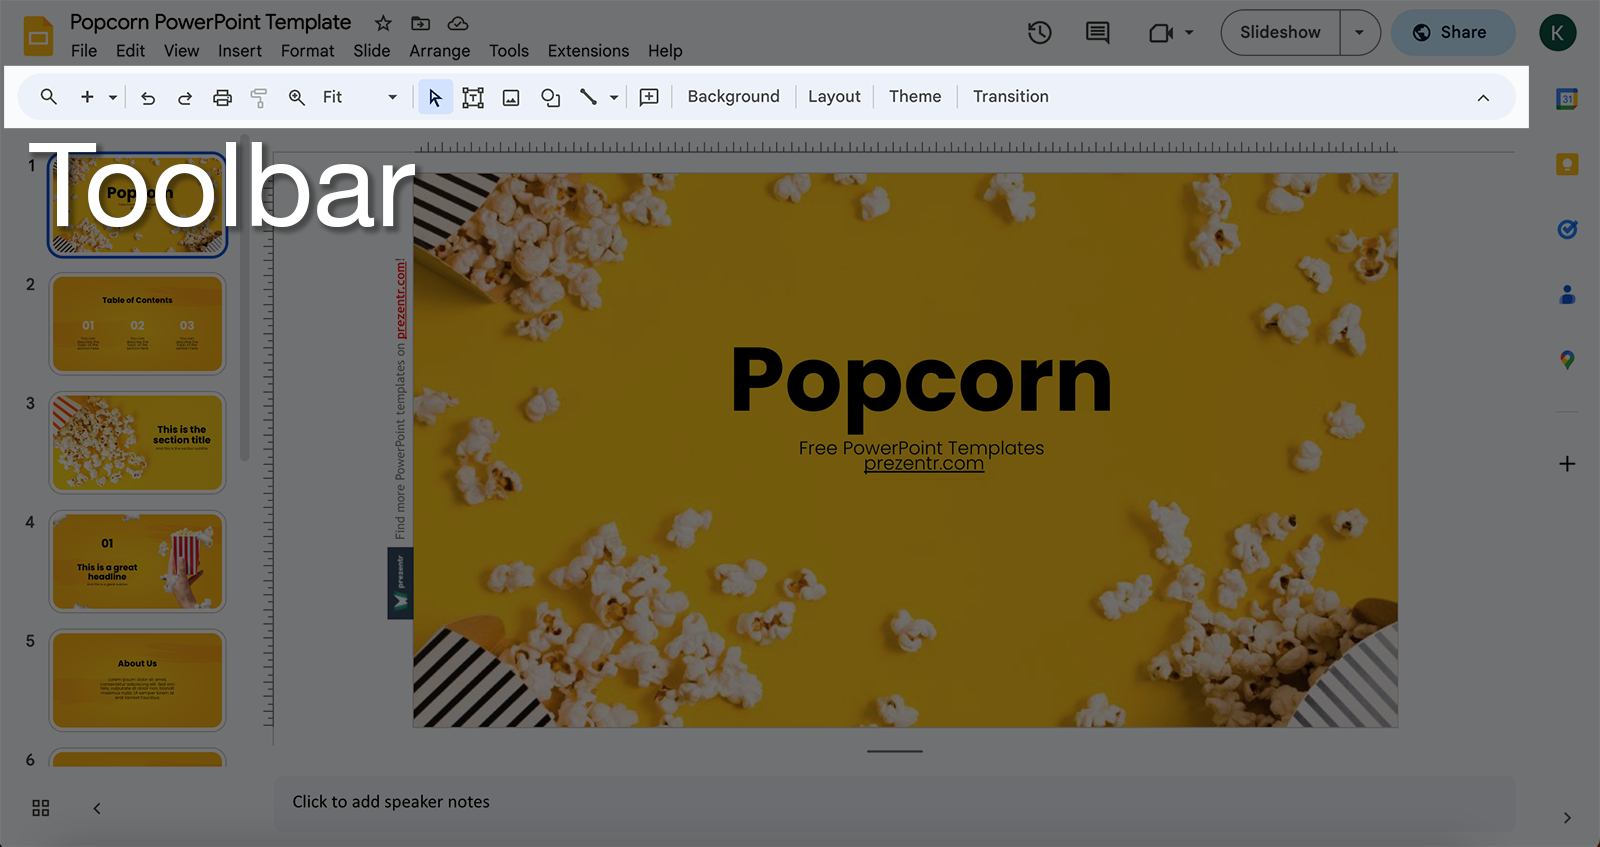
- Toolbar: Located at the top of the screen, the toolbar contains a variety of essential tools and options that help you format, edit, and enhance your slides. It includes features like font styles, text size, alignment, and more for customizing your text. Additionally, you can insert objects like images, shapes, and charts, as well as add animations and transitions to your slides.
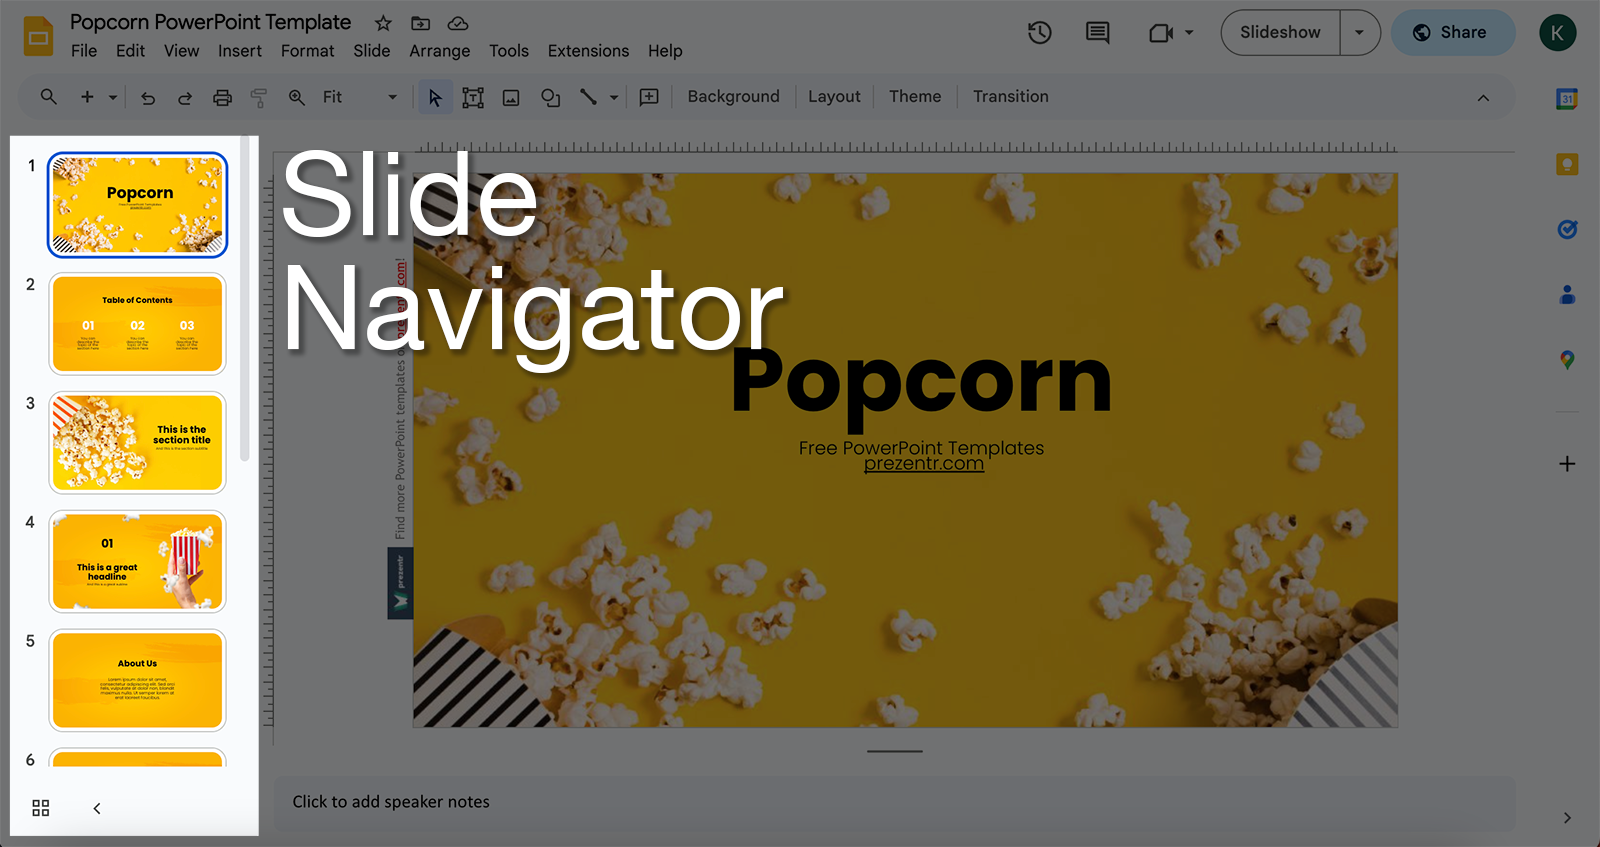
- Slide Navigator: On the left side of the interface, you’ll find the slide navigator. It displays thumbnails of all the slides in your presentation, making it convenient to navigate between slides, rearrange their order, or select a specific slide to edit.
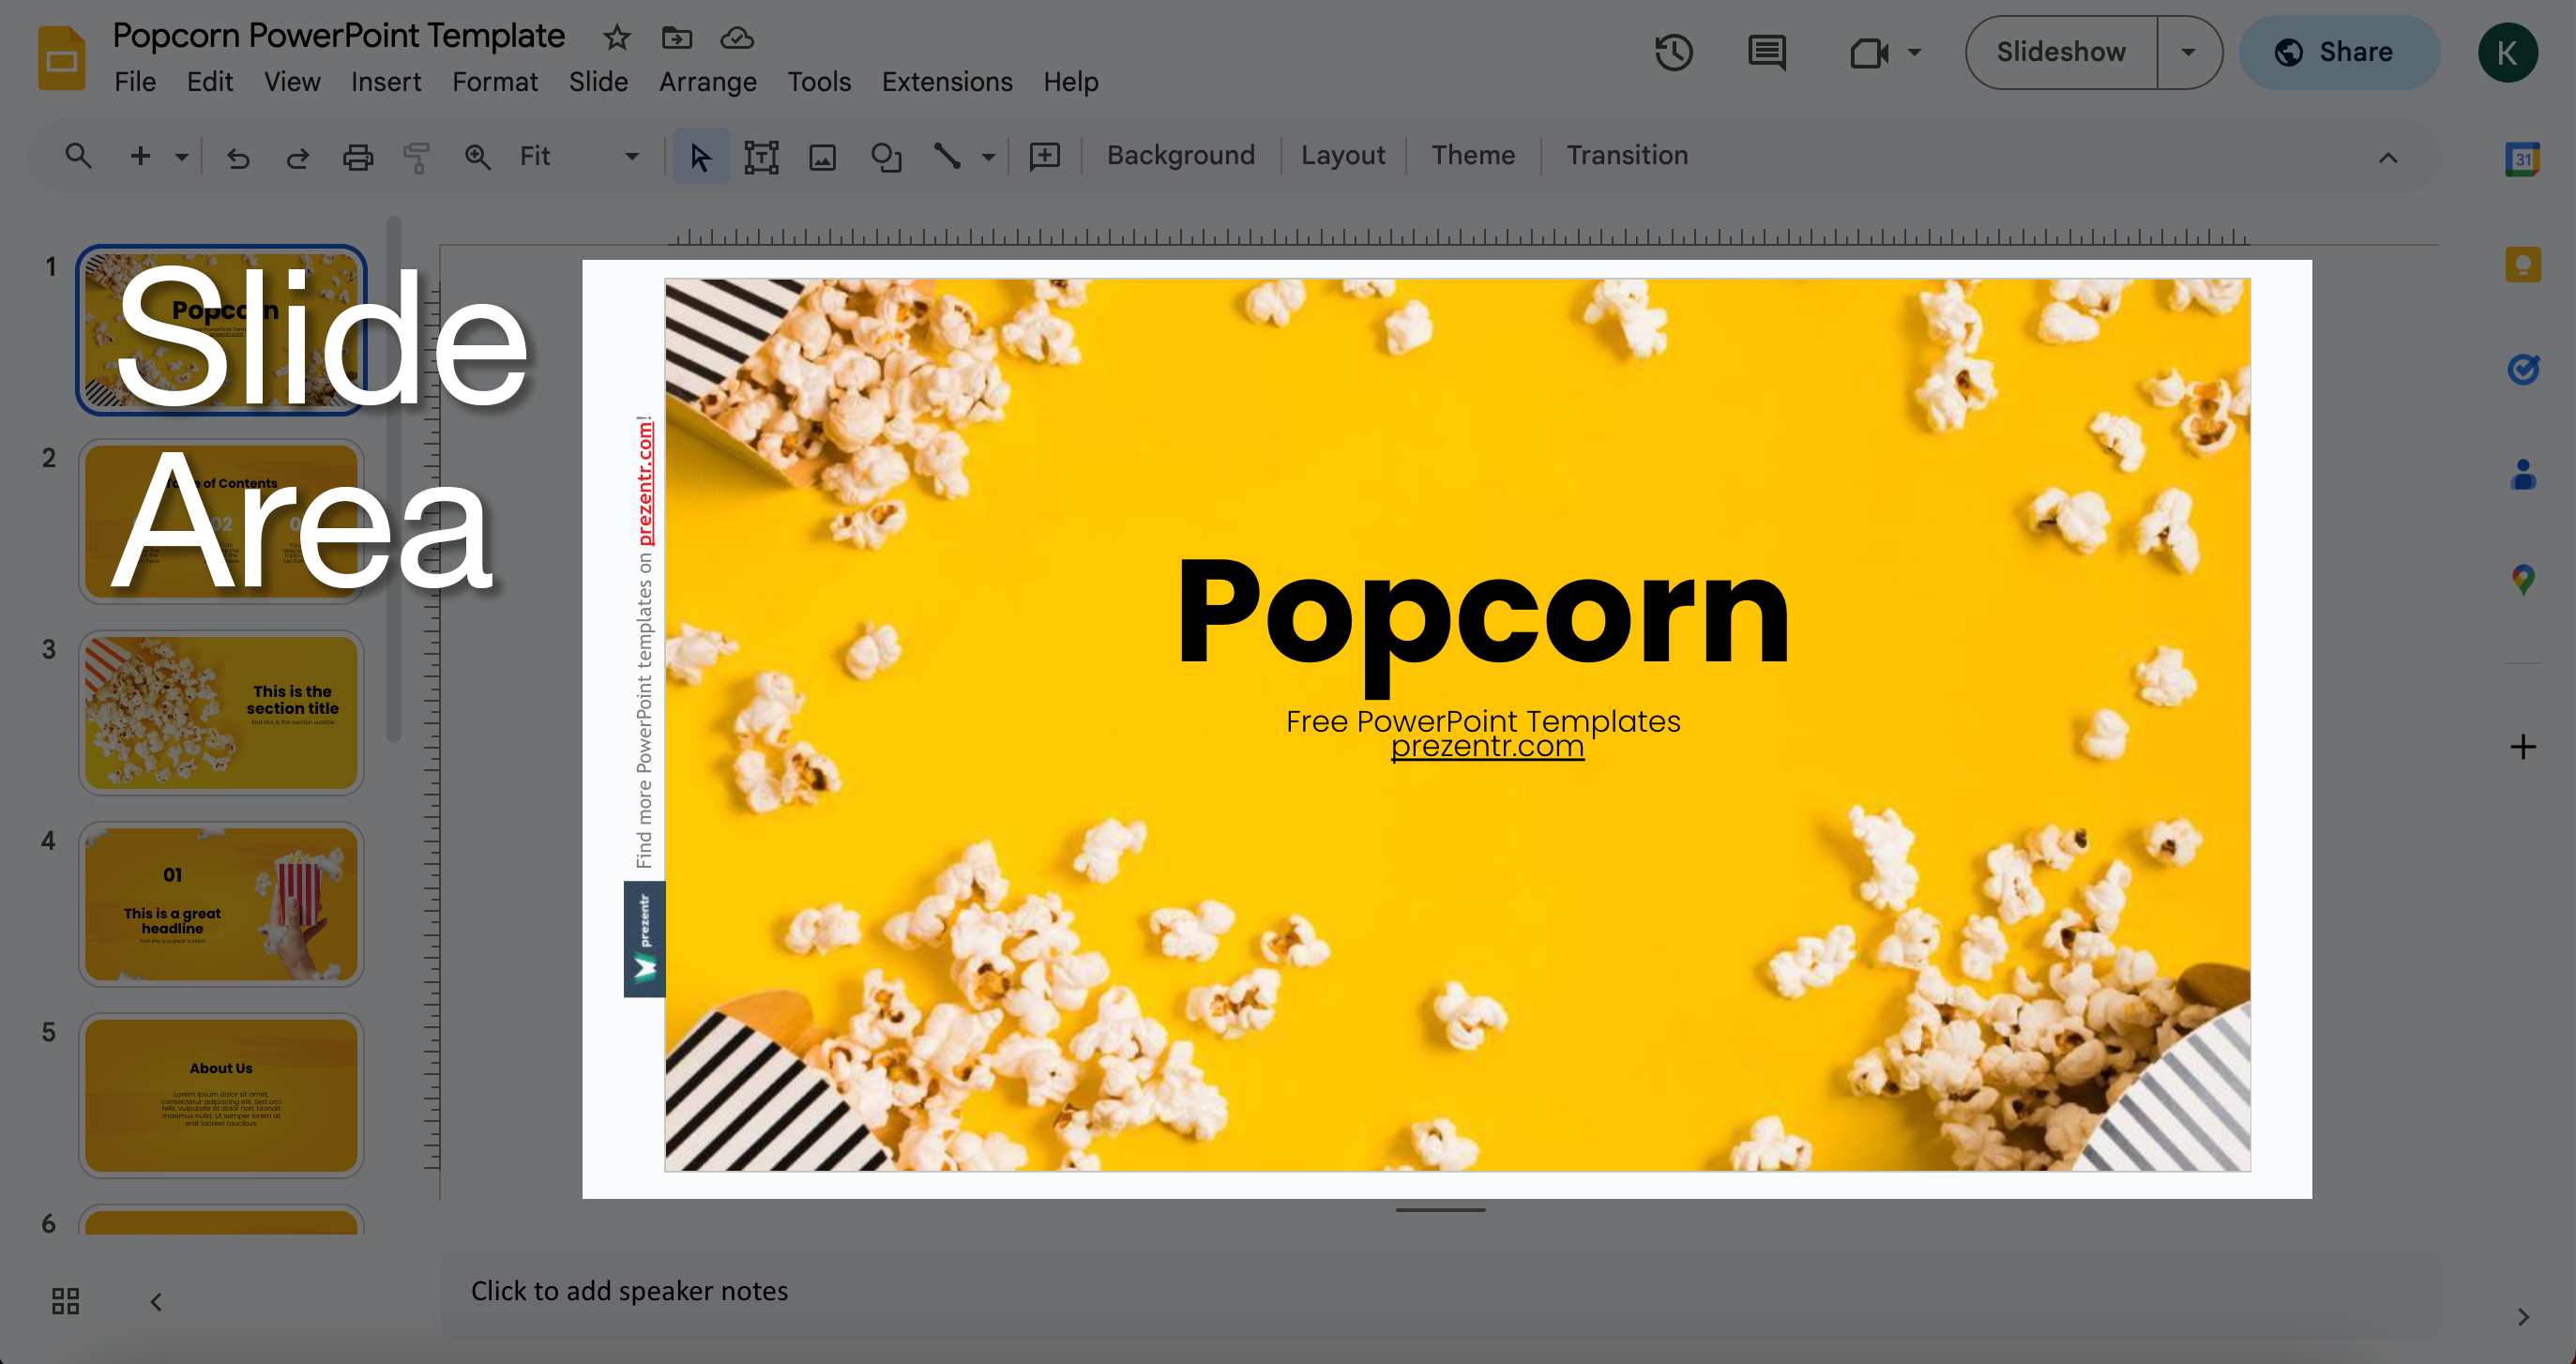
- Slide Area: The central part of the interface is dedicated to the slide you’re currently working on. Here, you can add and format text, insert images and objects, apply themes, and design your content to create visually appealing slides.
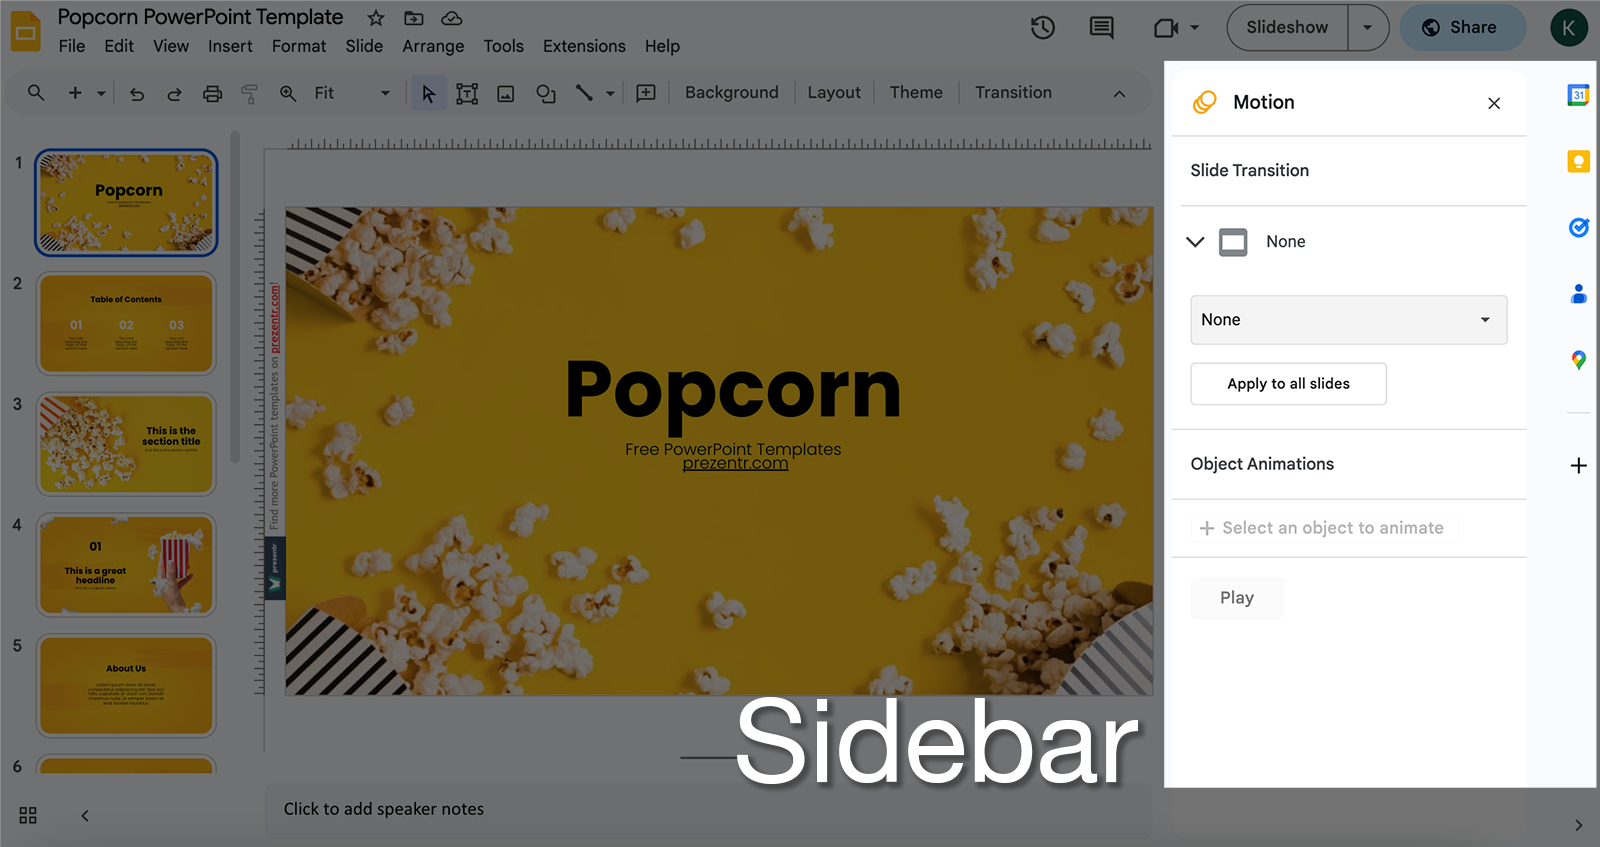
- Sidebar: Located on the right side of the screen, the sidebar provides additional tools and options that enhance your presentation-building experience. It includes options for selecting slide layouts, changing backgrounds, and adjusting the master slide (the template that influences the design of all slides).
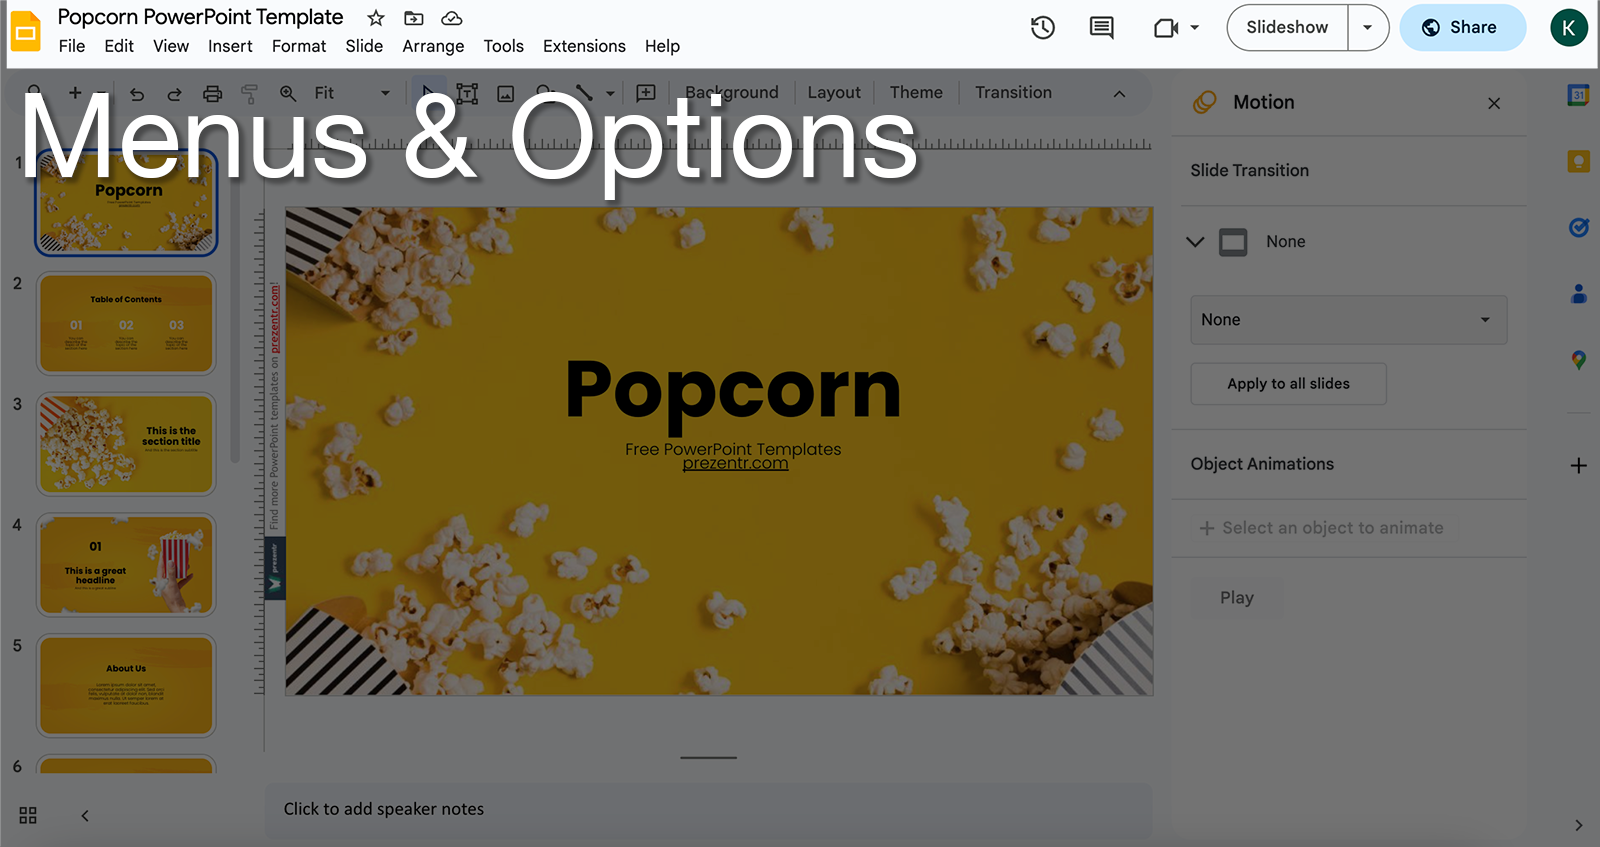
- Menus and Options: Above the toolbar, you’ll find menus such as “File,” “Edit,” “View,” “Insert,” and more. These menus offer a wide range of additional features and functions. For instance, the “File” menu allows you to save, download, and share your presentation, while the “View” menu lets you switch between different viewing modes.
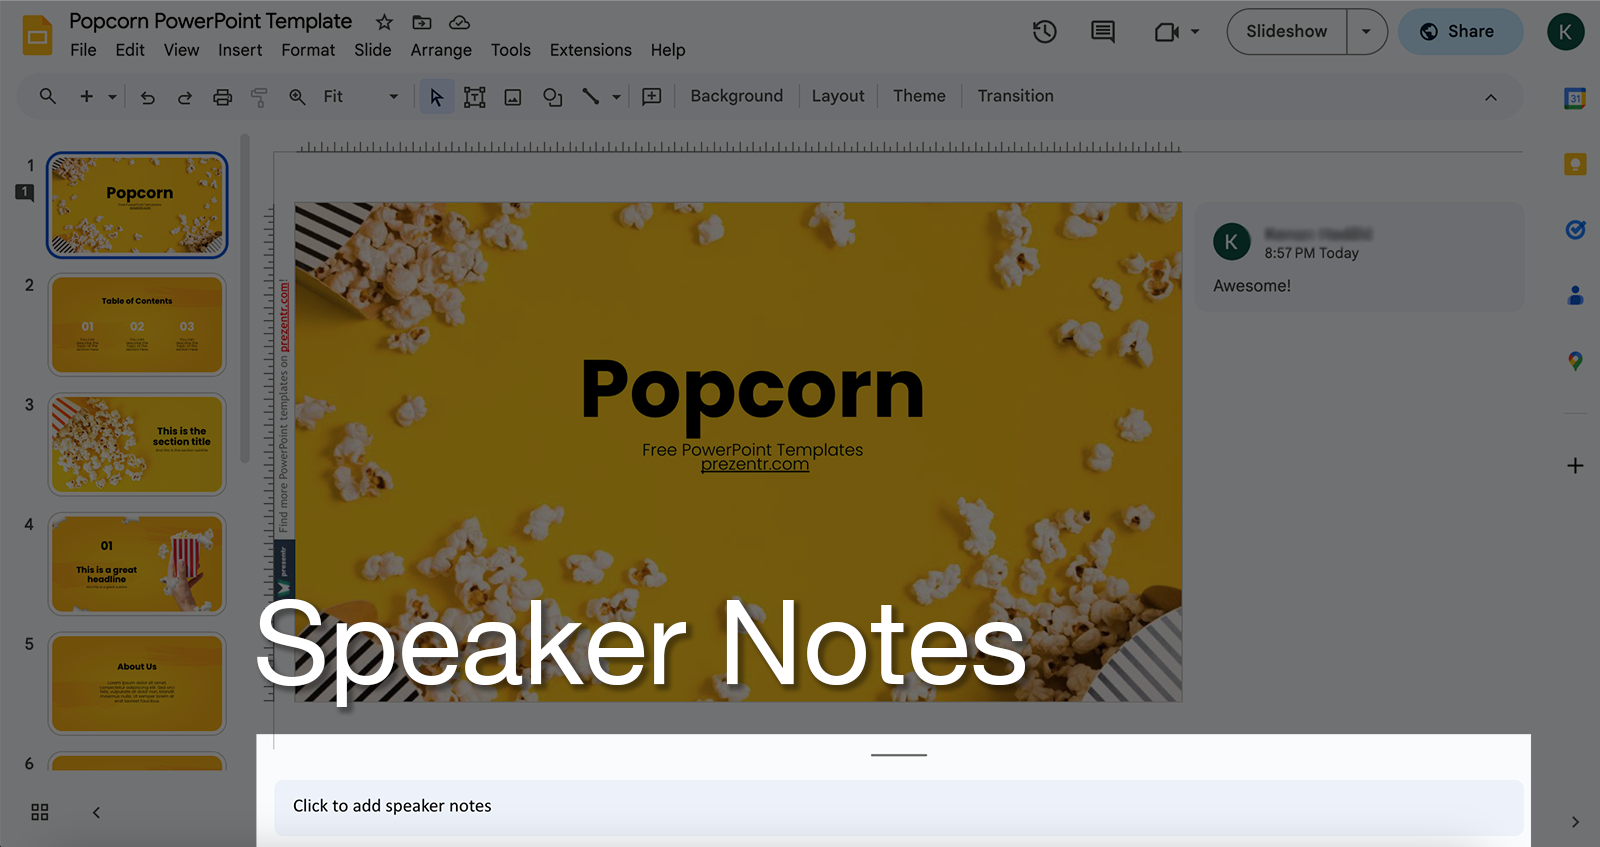
- Speaker Notes: Below the slide area, there’s a space for adding speaker notes. These notes are not visible to your audience during the presentation and can be useful for providing additional information or reminders to yourself while presenting.
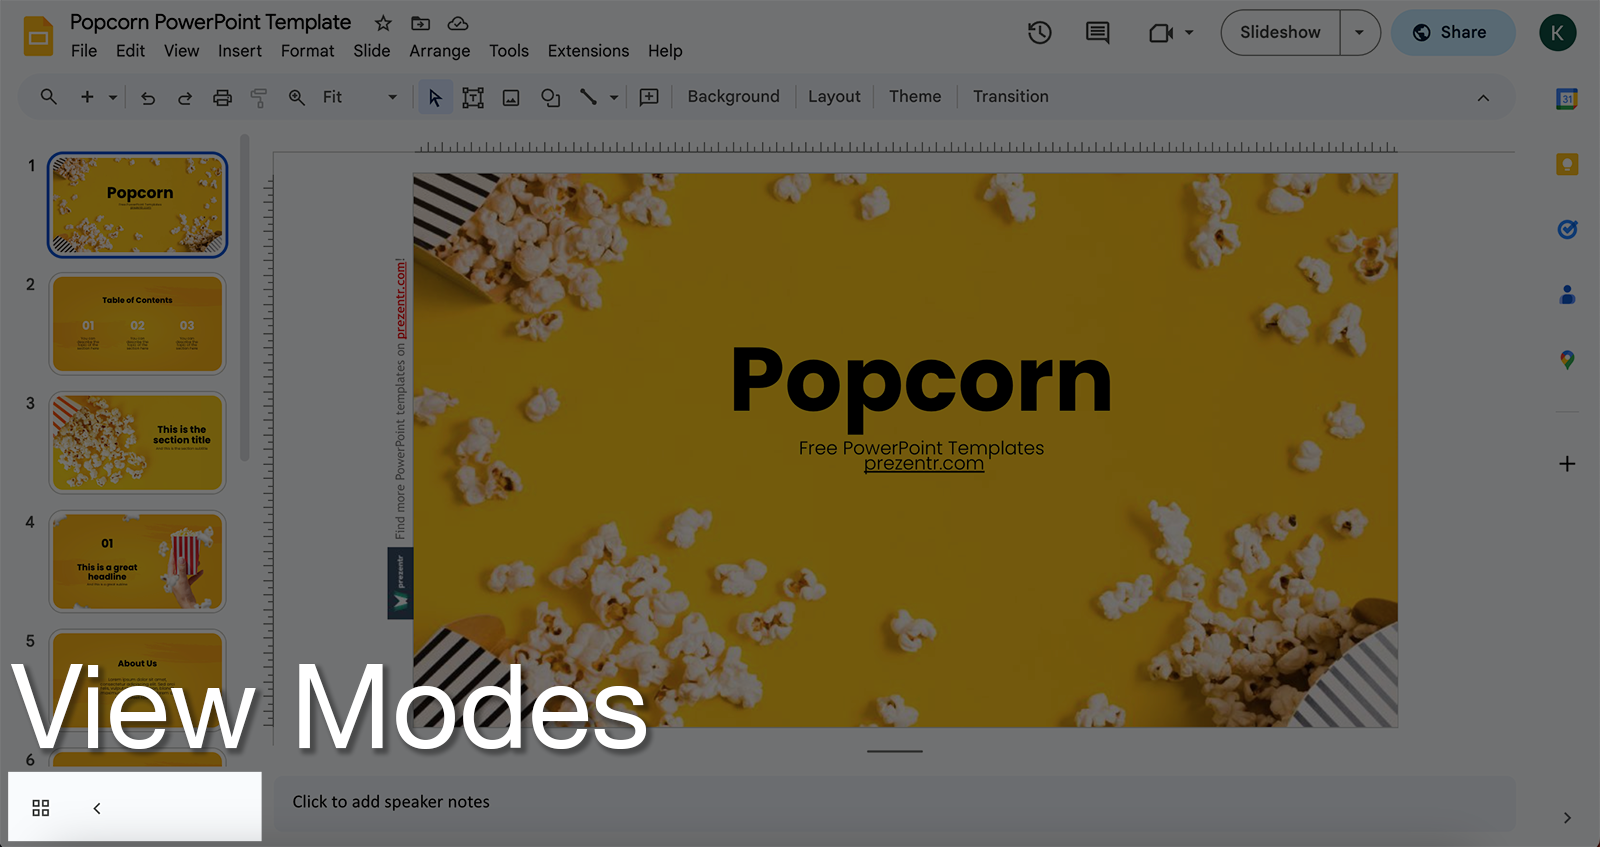
- Viewing Modes: Google Slides offers filmstrip and grid view. These options are located at the bottom-left side of the window. You can also switch through View menu.
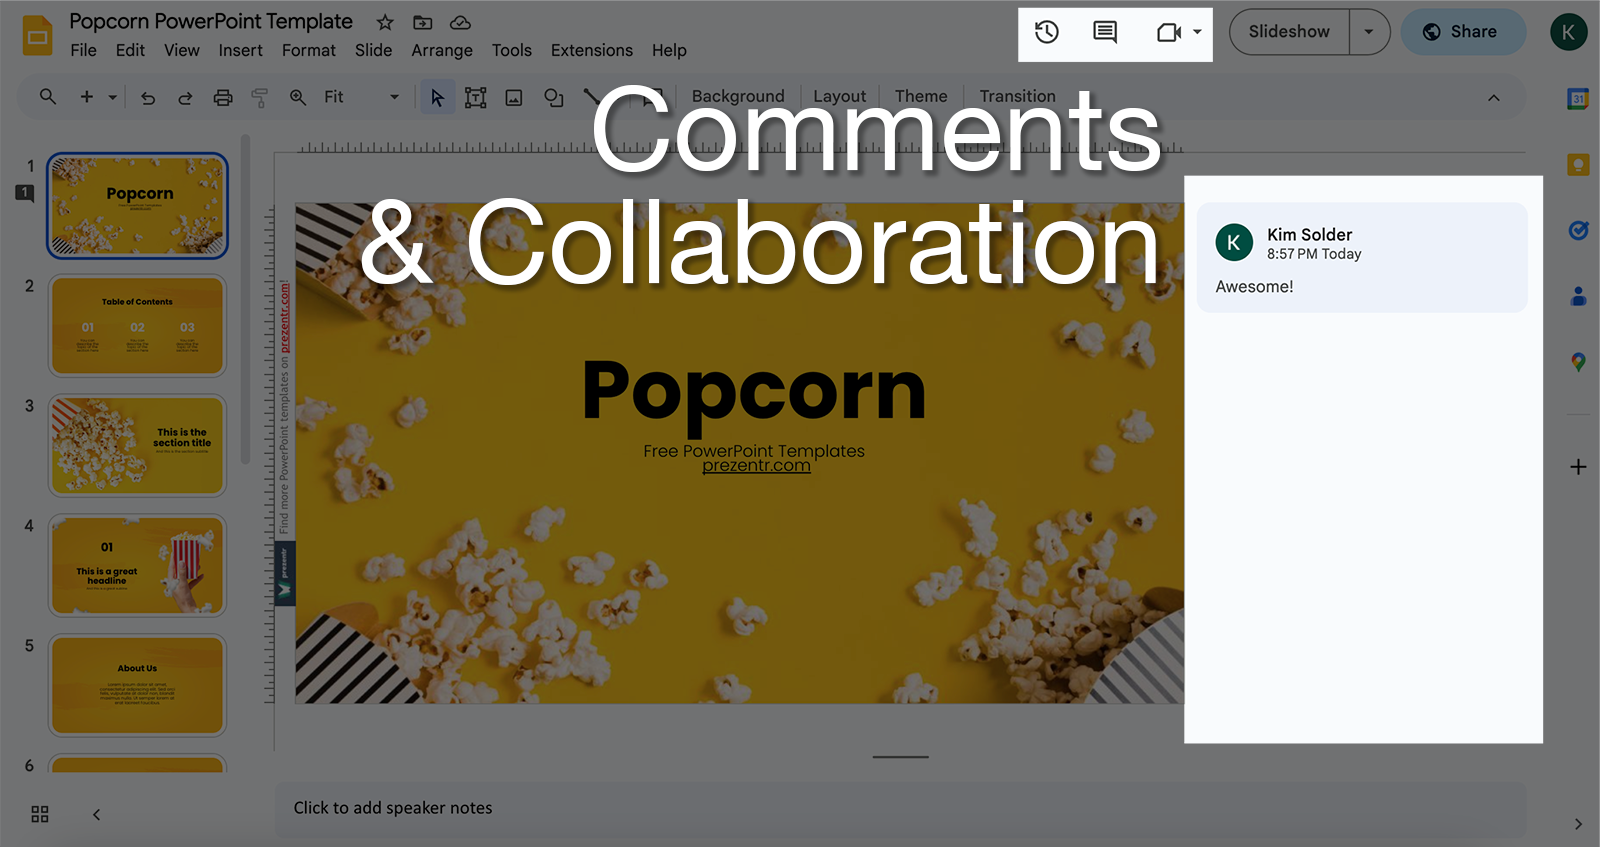
- Comments and Collaboration: Google Slides is designed for collaboration. You can access the “Comments” feature from the toolbar to leave feedback or engage in discussions with collaborators. The collaboration icon in the top-right corner lets you invite others to collaborate on your presentation in real-time.
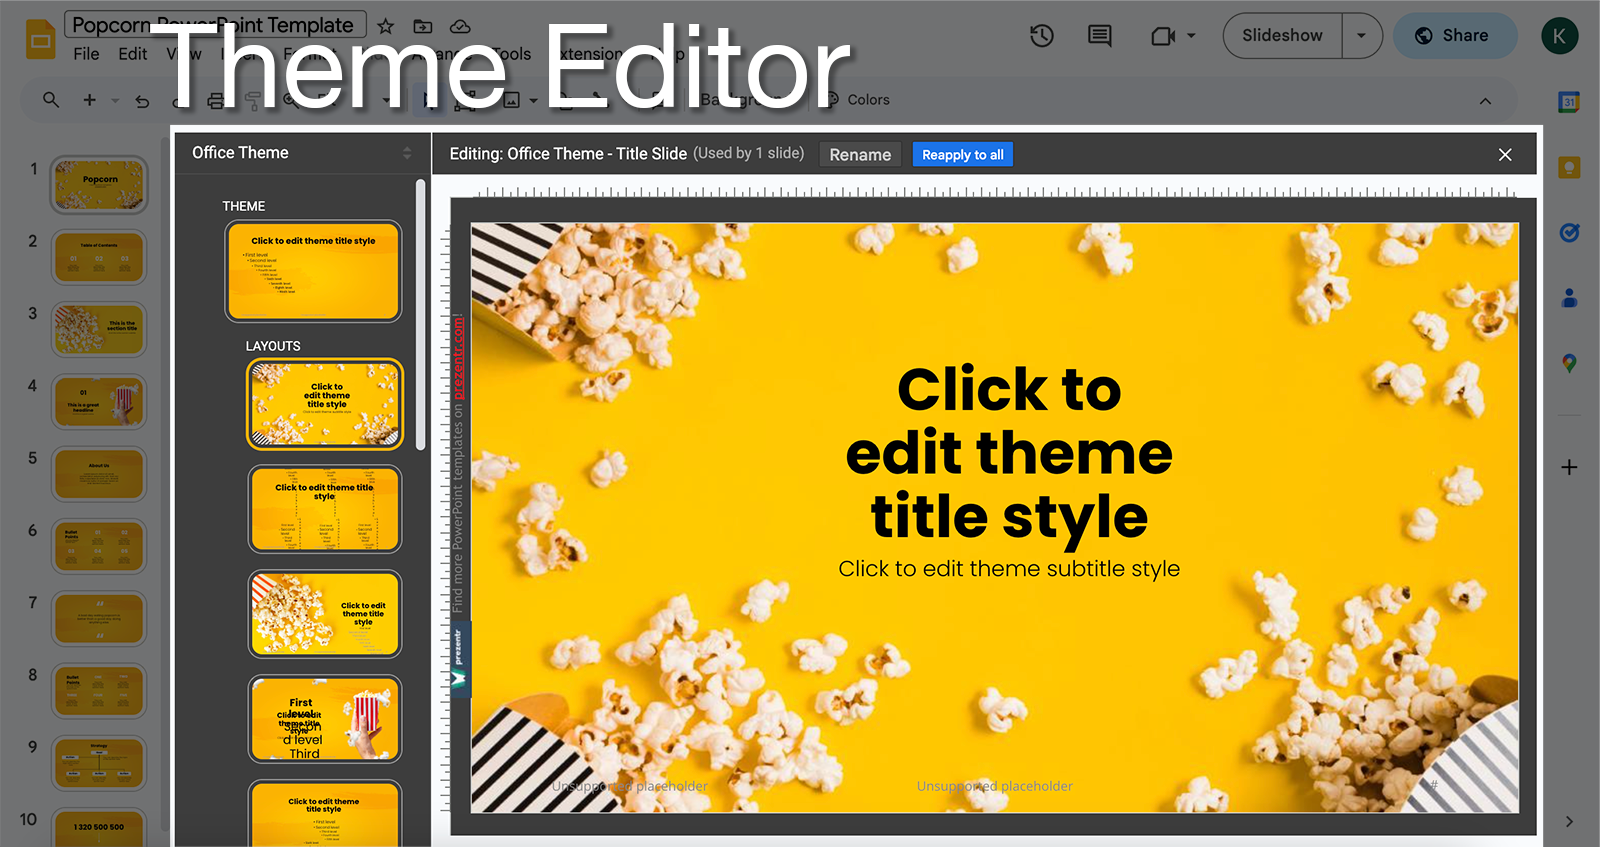
- Theme and Design: The “Slide” menu at the top offers options to apply a theme to your presentation. Themes determine the overall design, color scheme, and fonts used in your slides. You can choose from preset themes or customize your own.
These main parts of the Google Slides interface provide the tools and features you need to create visually appealing and engaging presentations. Whether you’re a beginner or an experienced presenter, Google Slides’ intuitive layout empowers you to craft professional-quality slideshows with ease.
Can You Open PowerPoint in Google Slides?
Yes, Google Slides is compatible with PowerPoint files. You can open PowerPoint presentations in Google Slides by uploading the .pptx file. Google Slides will automatically convert the file, making it editable within the platform. Here is a step-by-step guideline on how to do it.

- Access Google Slides:
- Open your web browser and navigate to “slides.google.com.”
- If you’re not already signed in to your Google account, you’ll be prompted to sign in.
- Open a New Presentation:
- In Google Slides, click on the “+ Blank” option to create a new presentation.
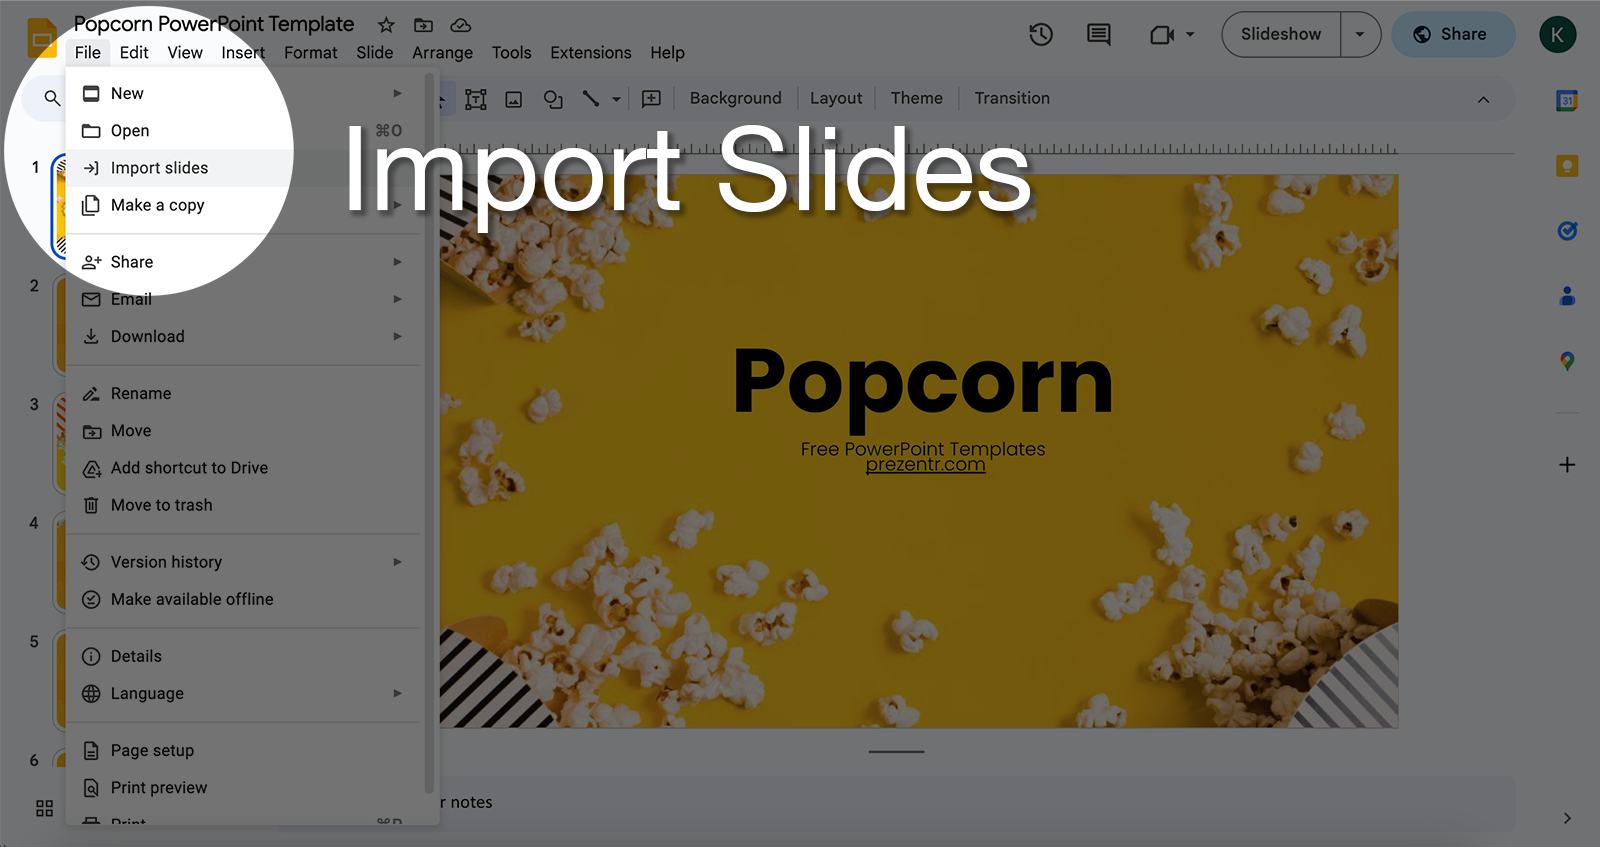
- Import PowerPoint Presentation:
- In the new presentation, go to the “File” menu at the top of the screen.
- Select “Import Slides”:
- From the dropdown menu, choose “Import slides.”
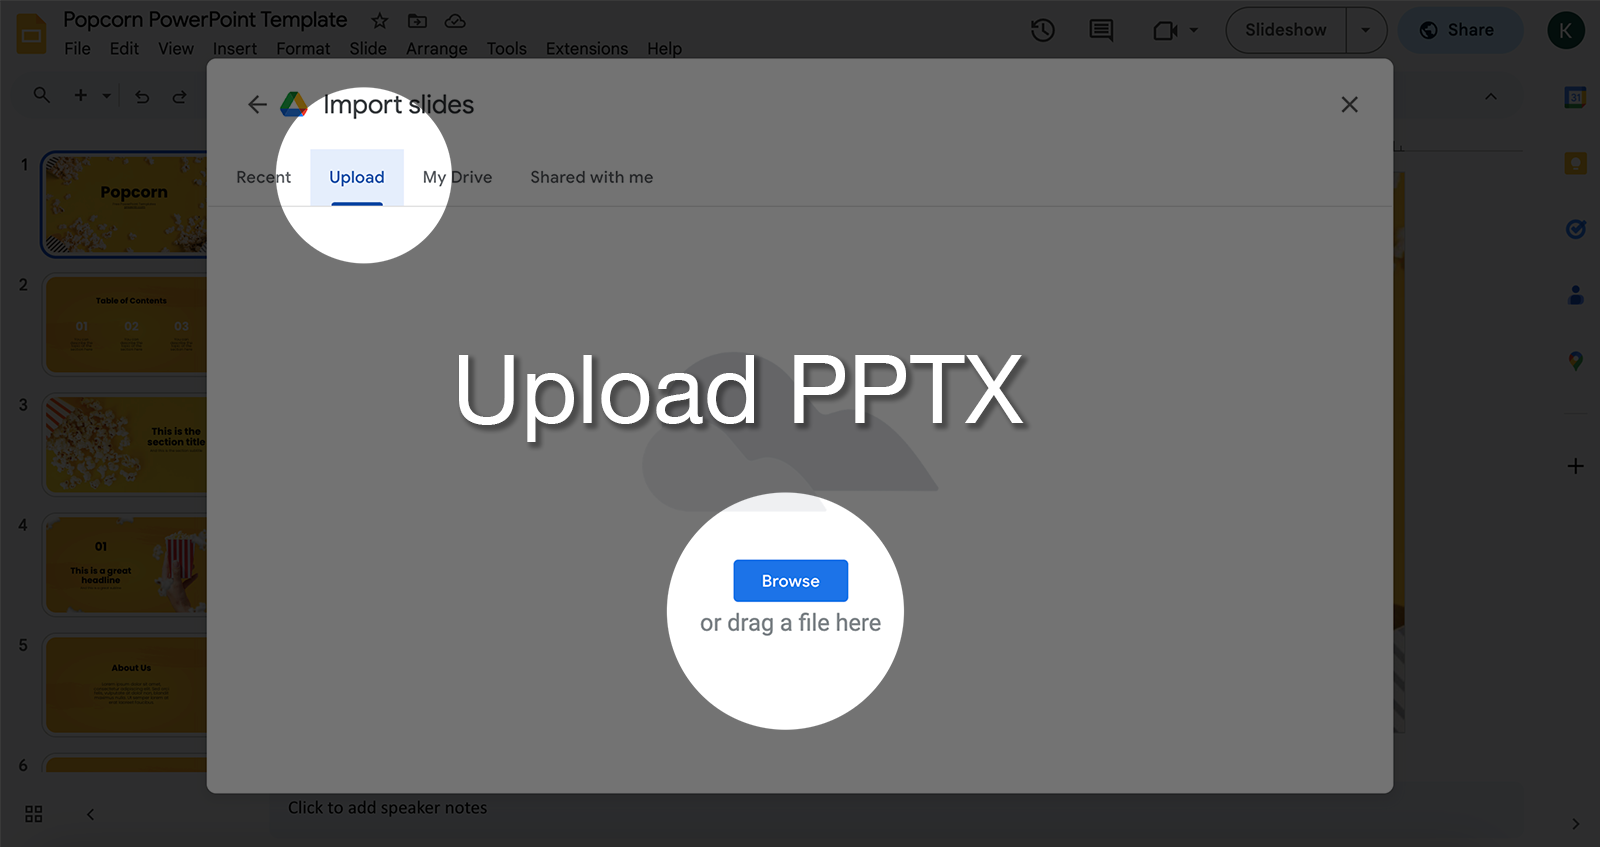
- Upload the PowerPoint File:
- A window will pop up, allowing you to upload your PowerPoint file. Click on the “Upload” tab.
- Choose File:
- Click on the “Choose file” button to select the PowerPoint file from your computer.
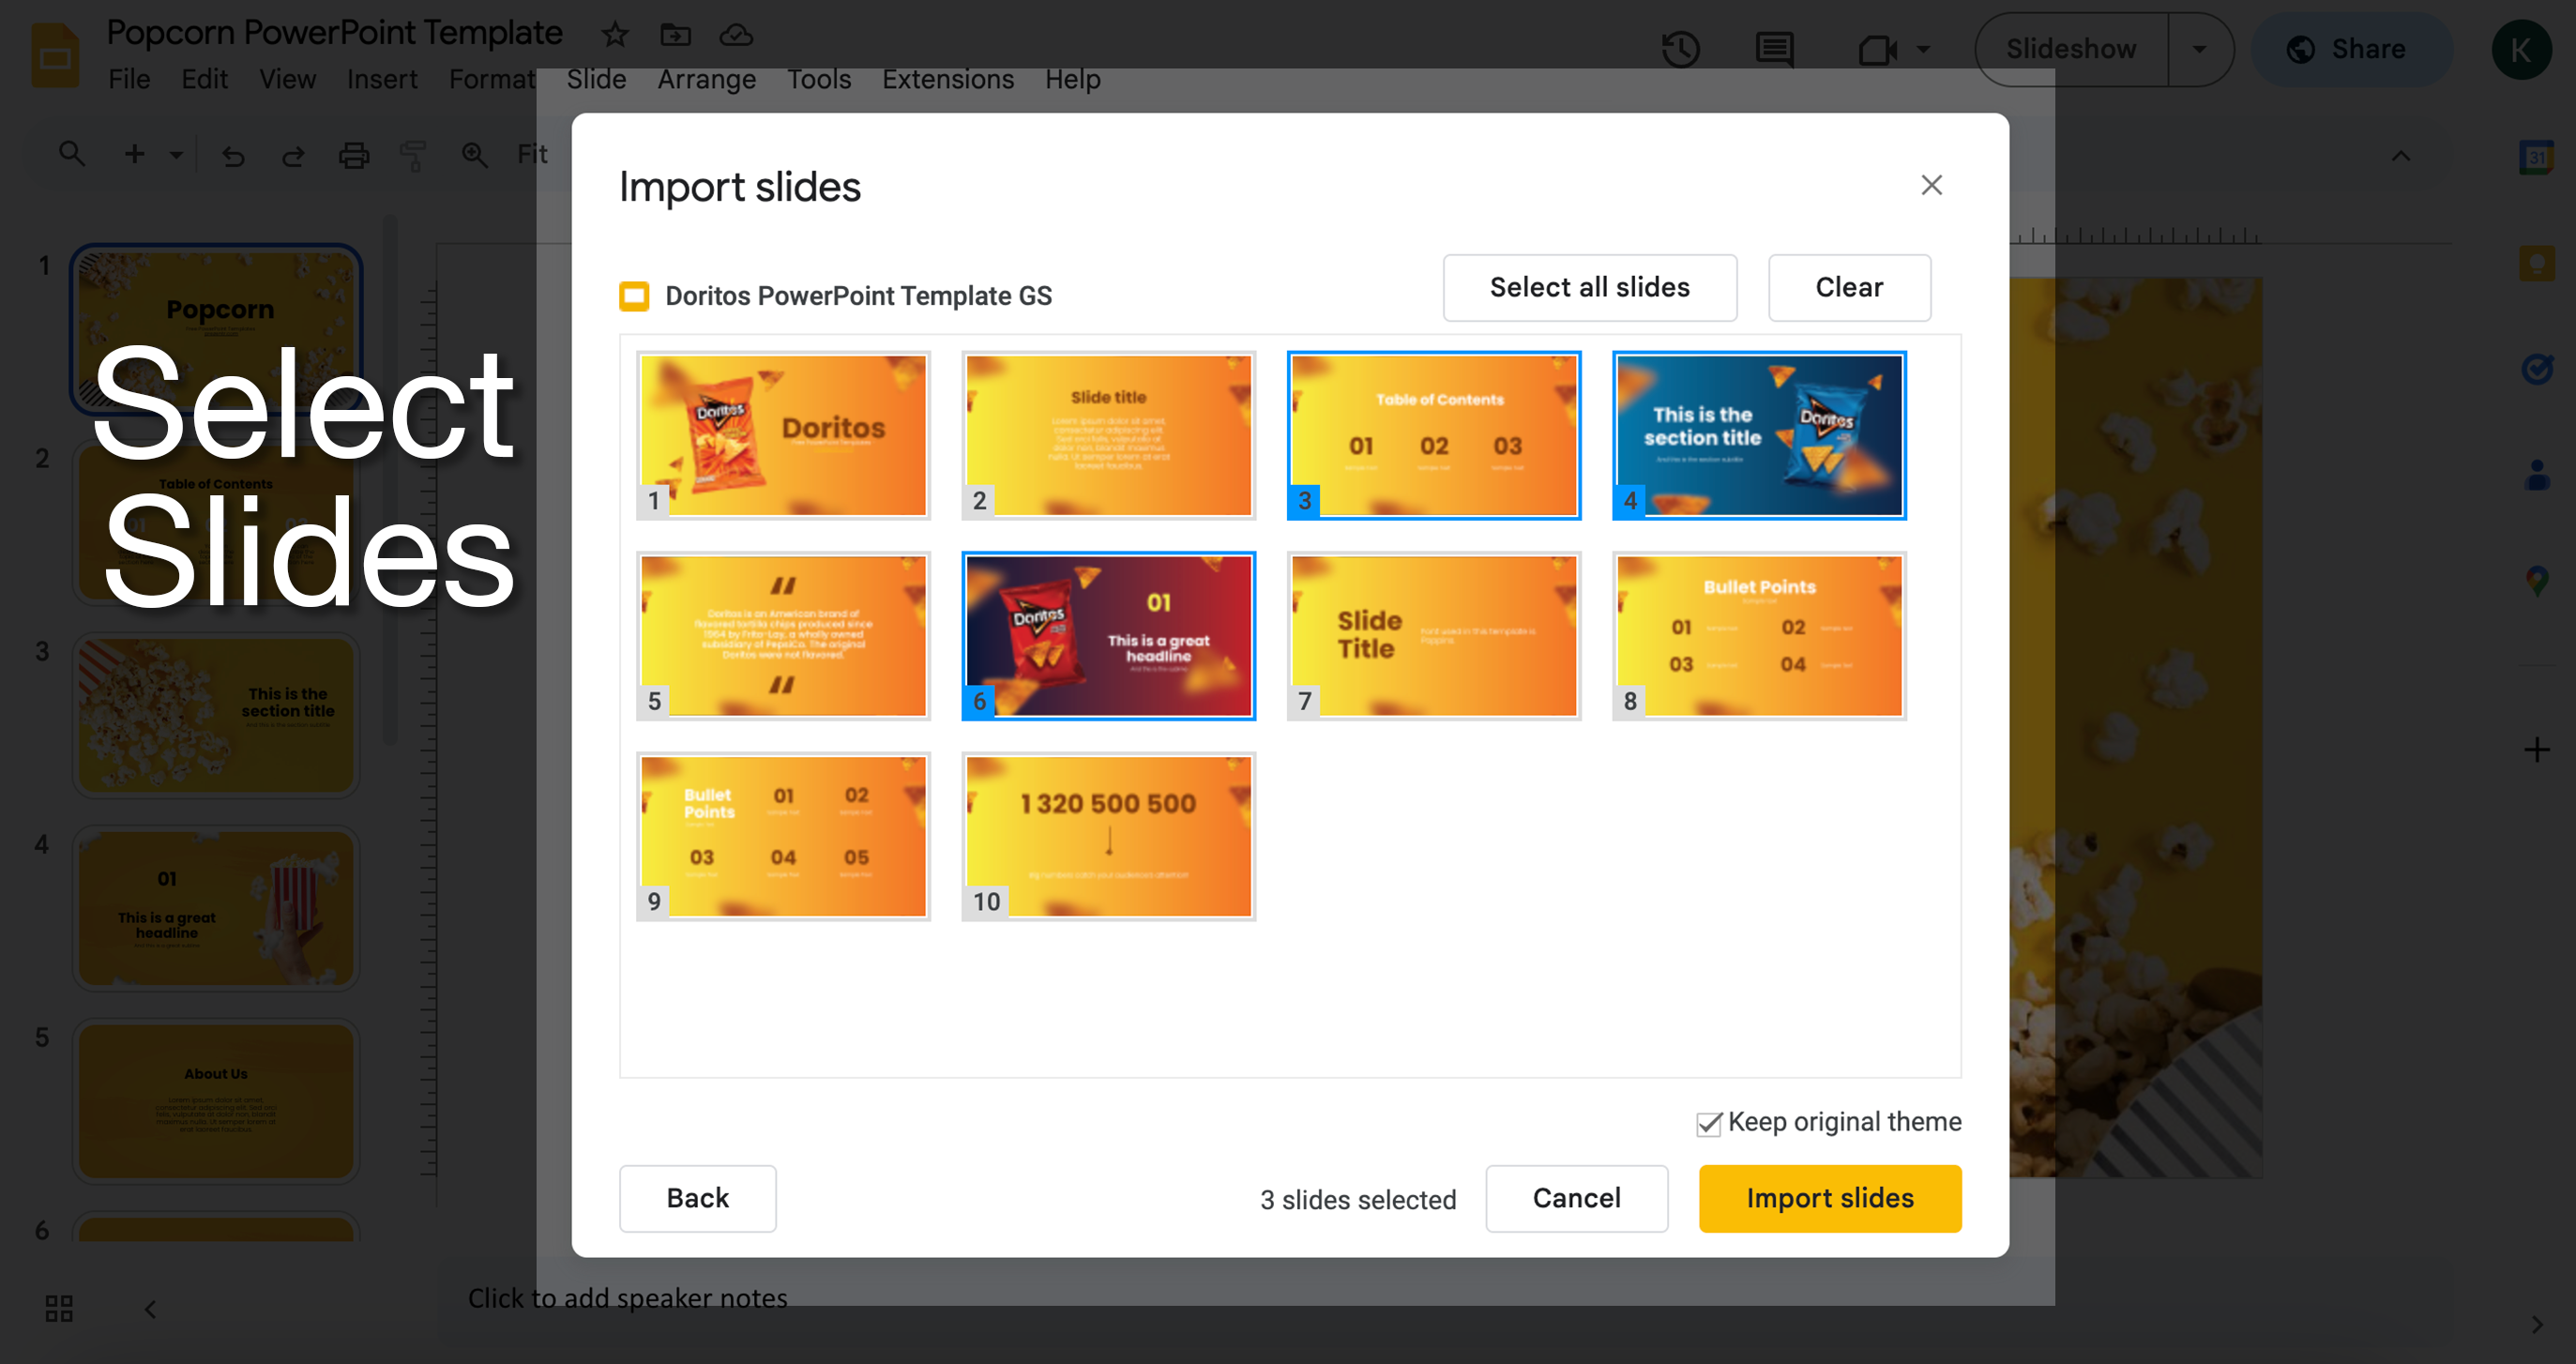
- Select Slides to Import:
- Once the file is uploaded, a list of slides from your PowerPoint presentation will appear.
- You have the option to either import all the slides or select specific slides to import.
- Click “Import”:
- After choosing the slides you want to import, click the “Import” button.
- Wait for Conversion:
- Google Slides will convert the PowerPoint slides into its format. This might take a moment, depending on the size of your presentation.
- Edit Your Presentation:
- Once the conversion is complete, you’ll see the imported slides in your Google Slides presentation.
- You can now edit, rearrange, and customize the slides using the tools and features available in Google Slides.
Main Advantages of Using Google Slides
- Accessibility: Since Google Slides is cloud-based, you can access your presentations from any device with an internet connection.
- Collaboration: Google Slides allows real-time collaboration, enabling multiple users to work on the same presentation simultaneously.
- Automatic Saving: Changes in Google Slides are saved automatically, reducing the risk of data loss.
- Integration: Google Slides seamlessly integrates with other Google Workspace apps, facilitating easy sharing and collaboration.
For more pros and cons of using Google Slides take a look at this article: Best Presentation Software: Which One to Use in 2023?
Where Can I Find Free Google Slides Templates?
You can find free Google Slides templates on various websites, including prezentr.com. Prezentr offers a collection of professionally designed templates for different purposes, from business presentations to educational slideshows. Here are some of our favorite Google Slides templates.


How to Use Google Slides Templates?
Using Google Slides templates is easy. You can use templates that are embedded in Google Slides or download them online.
- Open Google Slides and create a new presentation.
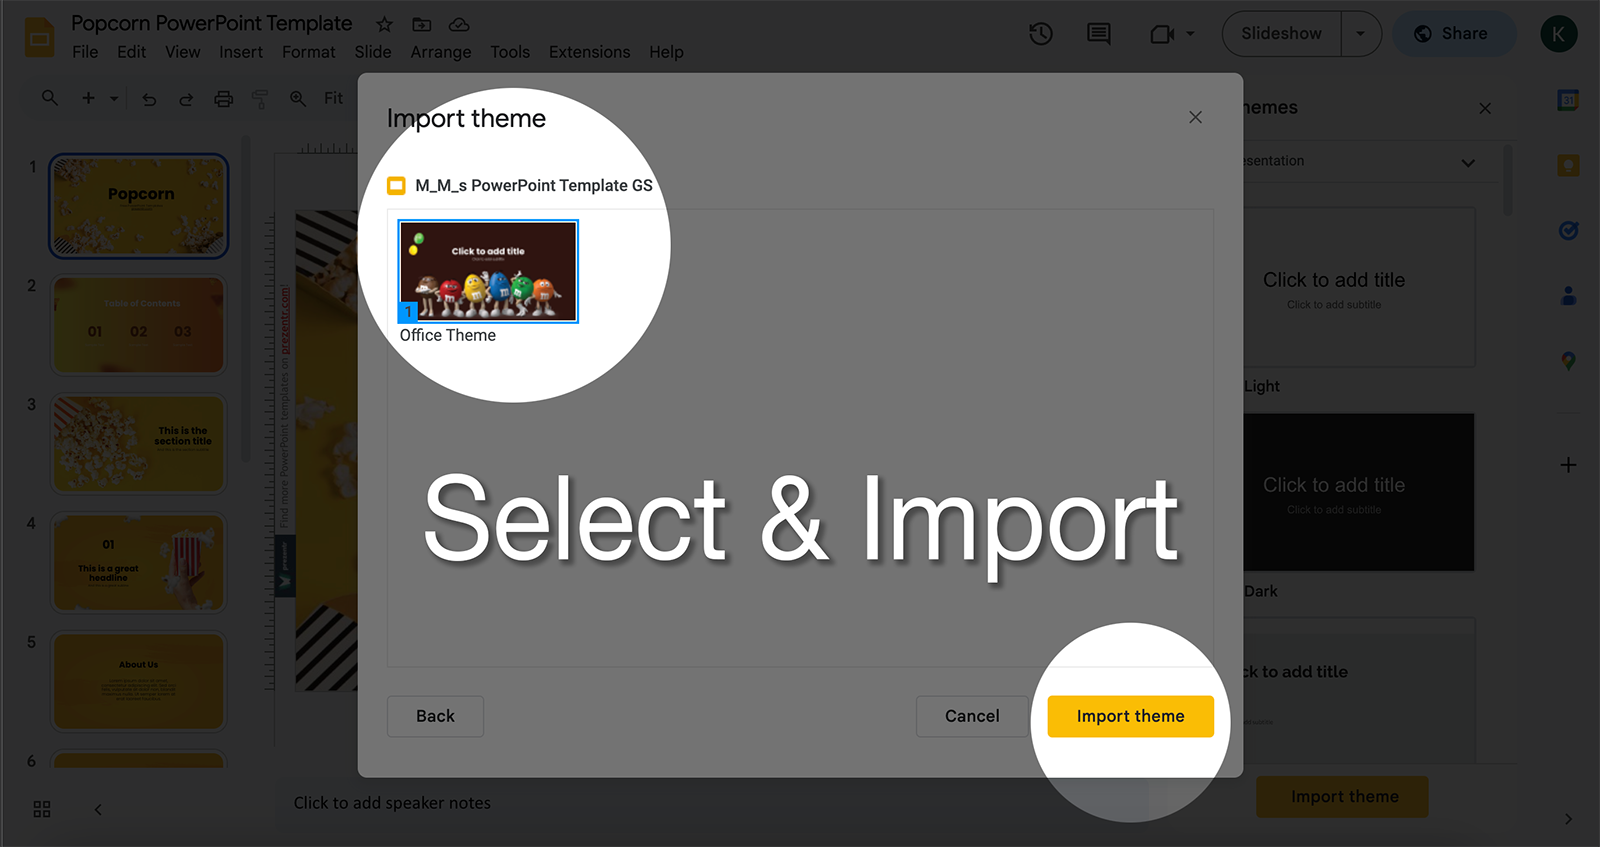
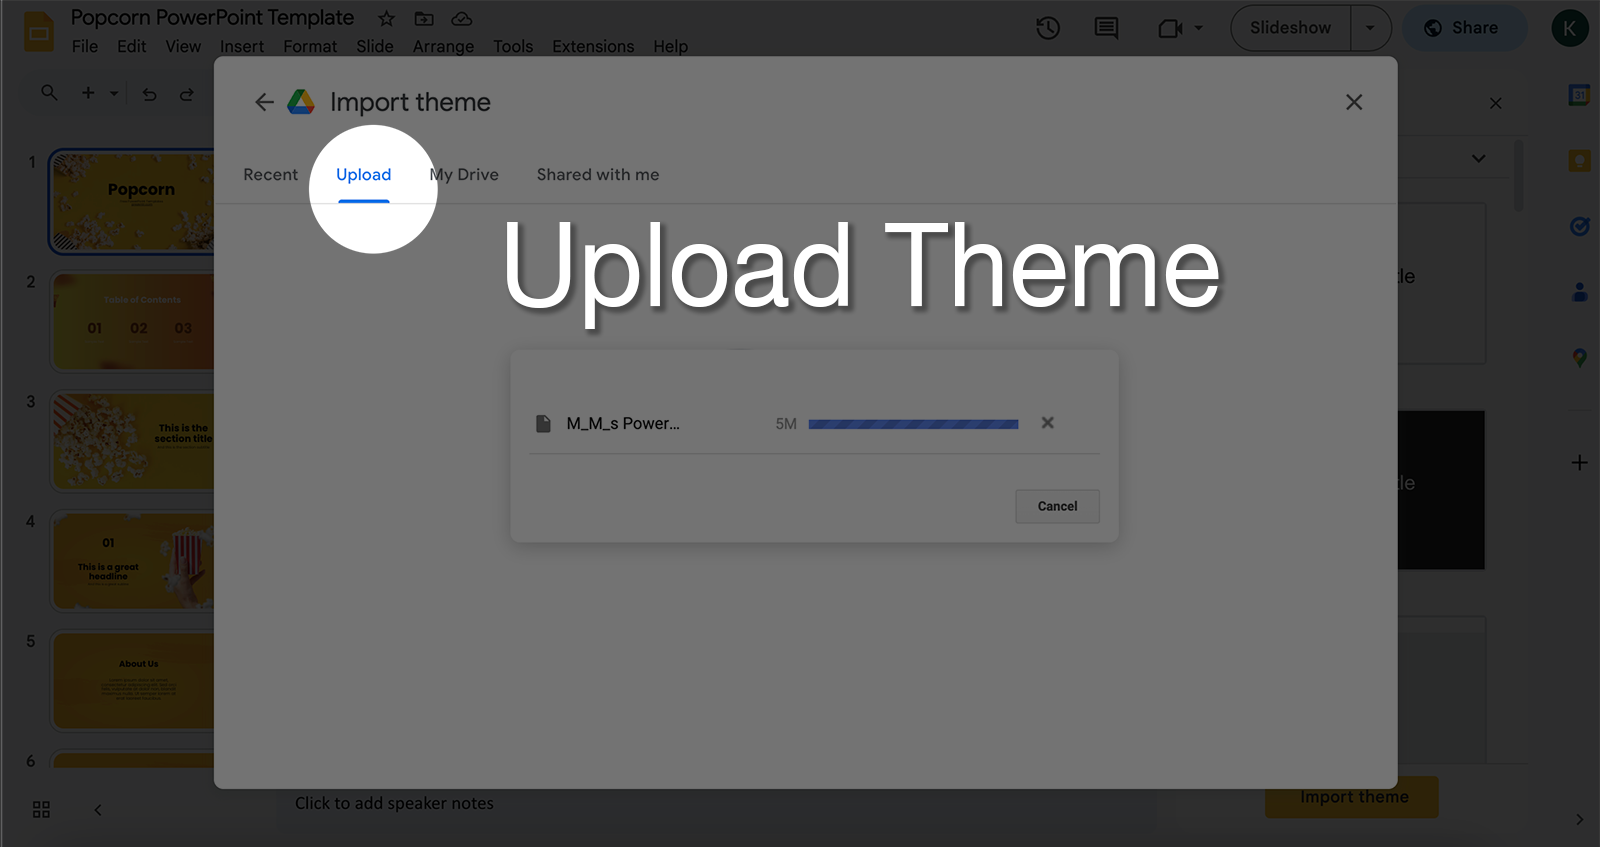
- Click on “Template gallery” and select “Import theme.”
- Upload the template file, and it will be applied to your presentation.
- Customize the template with your content and visuals.
Or, if you use our templates, simply navigate to the template you like and click the “Duplicate GS” button at the bottom of the page. You will be prompted to the Google Slides and you only then need to click the “Make a copy” button. That’s it. You can now use your Google Slides template.
How to Share Google Slides Presentation with Others?
To share your Google Slides presentation, click on the “Share” button in the top-right corner. Enter the email addresses of the people you want to share with and set their access level (view, edit, or comment). Or, you can copy the share link and send it to them manually.
There are three levels of access permissions in Google Slides:
- Editor: Can edit and make changes to the presentation.
- Commenter: Can view the presentation and leave comments.
- Viewer: Can only view the presentation without making changes or comments.
How to Collaborate in Google Slides?
Collaborating in Google Slides is seamless. Invite others to work on your presentation by clicking on the “Share” button. Multiple users can edit the same presentation simultaneously, and changes are saved in real-time. Collaborating in Google Slides is a powerful way to work together on presentations, whether you’re co-creating a project, receiving feedback, or conducting a team presentation. The real-time editing, commenting, and version history features streamline the collaboration process, making it easier than ever to work as a team.
- Work Simultaneously:
- All collaborators can edit, add content, and make changes to the presentation at the same time.
- Each collaborator’s changes are automatically saved and reflected in real-time for everyone.
- Leave Comments:
- Commenters can add comments to specific slides, text, or objects. They won’t be able to make direct edits, but their feedback is visible to all collaborators.
- Resolve Comments:
- Editors can resolve comments by addressing the feedback and marking the comment as resolved.
- Track Changes:
- Google Slides keeps a revision history that allows you to track changes made by collaborators. To access this, click on “File” > “Version history” > “See version history.”
- Chat and Discuss:
- Google Slides also offers a chat function, allowing collaborators to communicate in real-time within the presentation.
- Save and Exit:
- Collaborators’ changes are saved automatically. Simply close the presentation when you’re done collaborating.
Conclusion
Now that you have a basic understanding of Google Slides, start creating stunning presentations and make your ideas come to life! Happy presenting!


